If you would like to create different frequency reactiveness templates, for different styles of music, this is a very powerful tool to use!
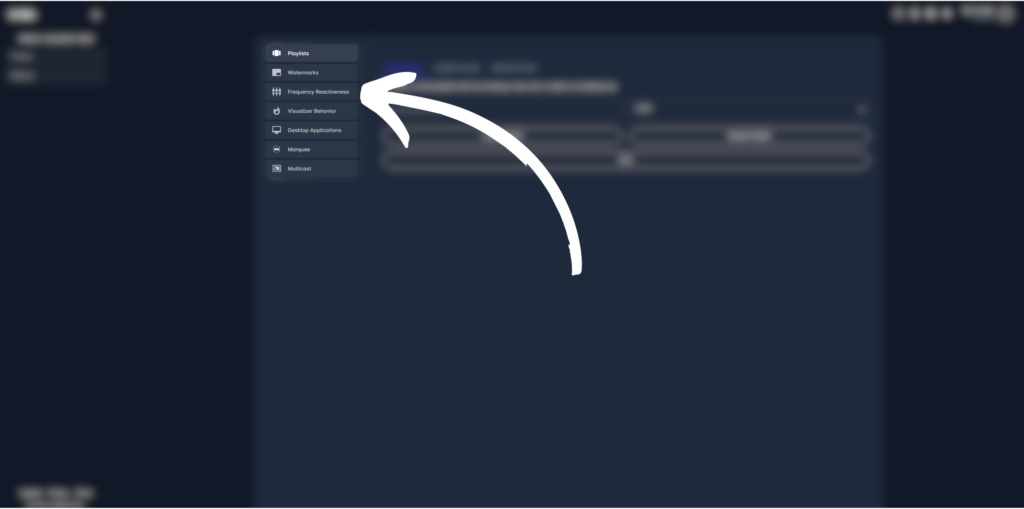
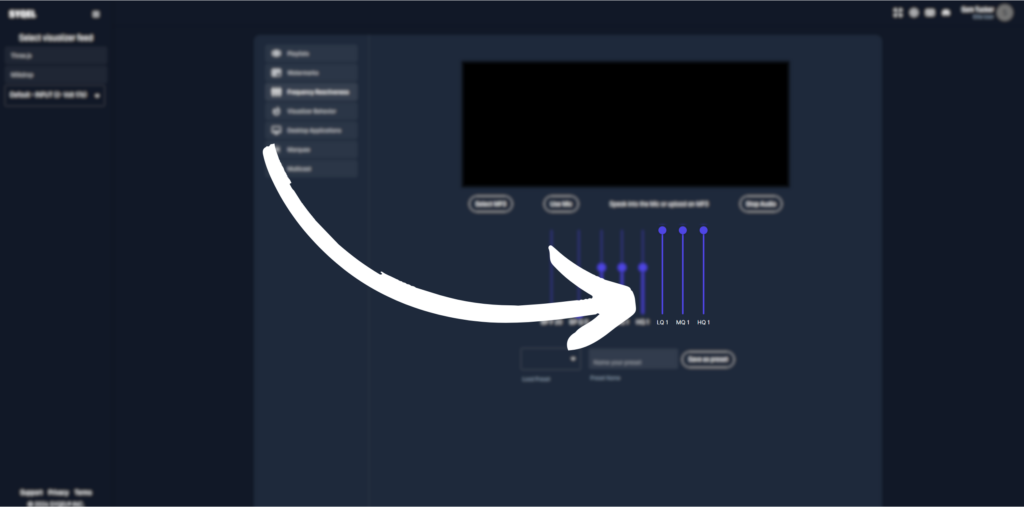
To start click on the frequency reactiveness section of the settings page
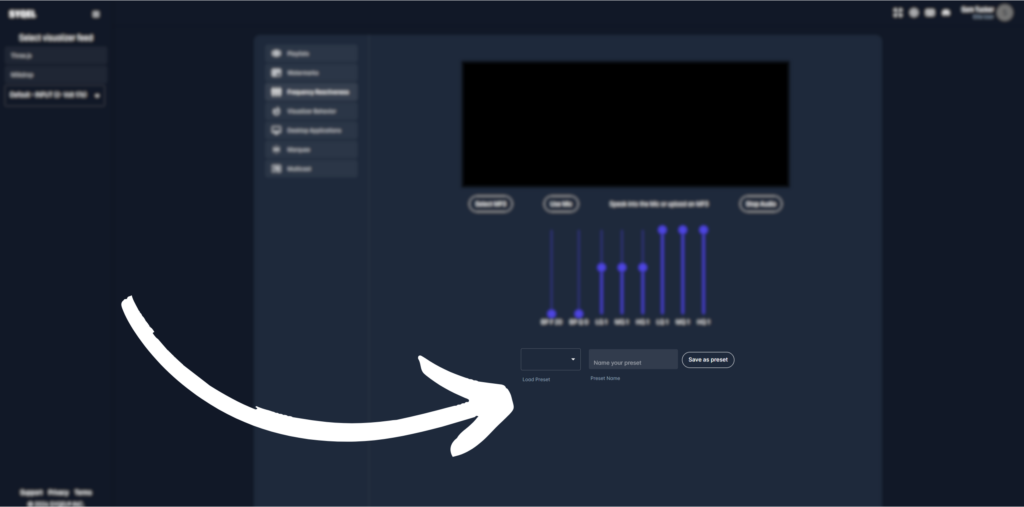
You can set an EQ to tell SYQEL which frequency ranges to respond to. In simpler terms, you can isolate certain ranges of frequency for SYQEL to respond to.
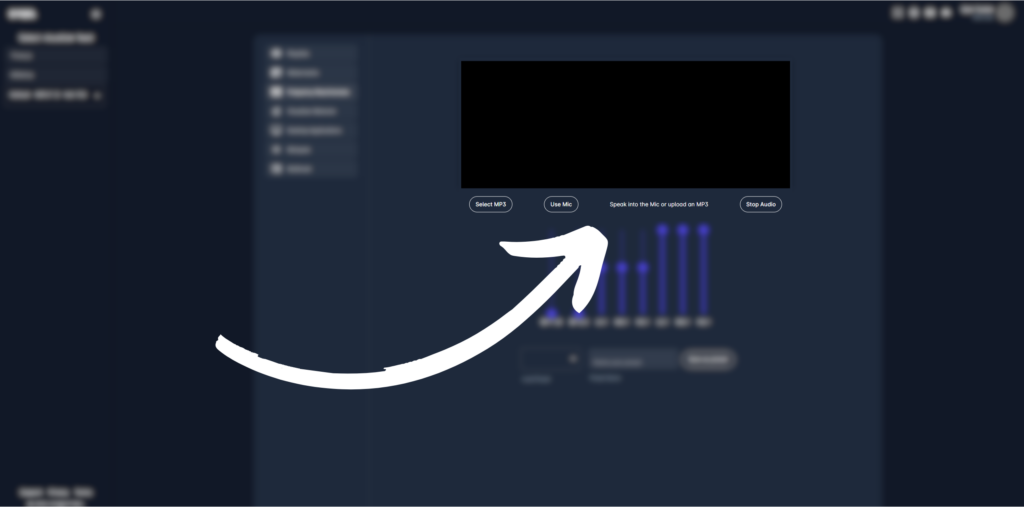
You can upload an mp3 or use your microphone to preview how your EQ is affecting the audio.
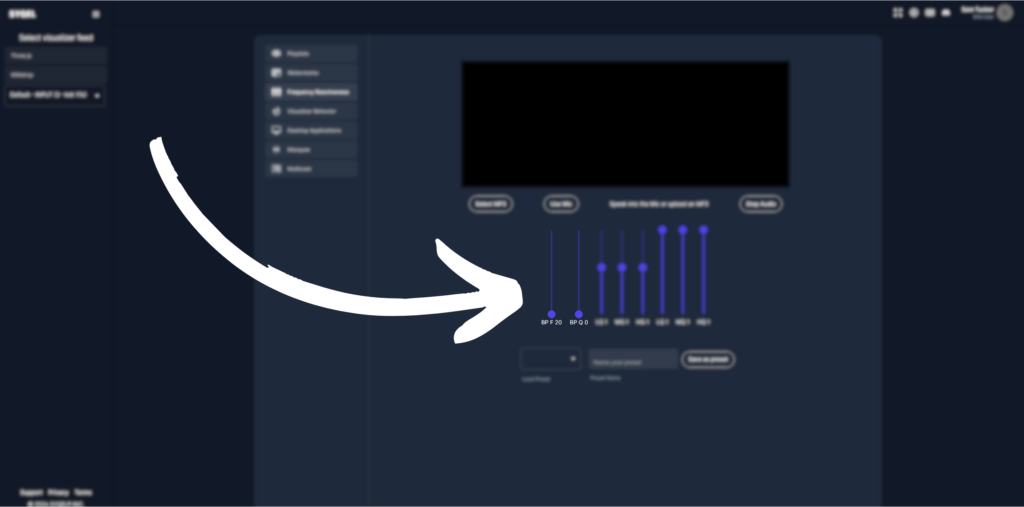
The first two sliders apply a bandpass filter to the audio. The first slider affects the frequency of the bandpass filter (from high to low) and the second slider is how much that bandpass filter is applied to the audio. This is a great way to really isolate certain parts of the audio like the kick and bass or instruments.
The next three sliders affect the gain (or volume) of thee different frequency ranges. The first one affects the volume of the low frequencies like the kick and bass. The second slider affects the volume of the mid frequencies like synthesizers or instruments. The third slider affects the volume of the high frequencies like hi-hats or cymbals.
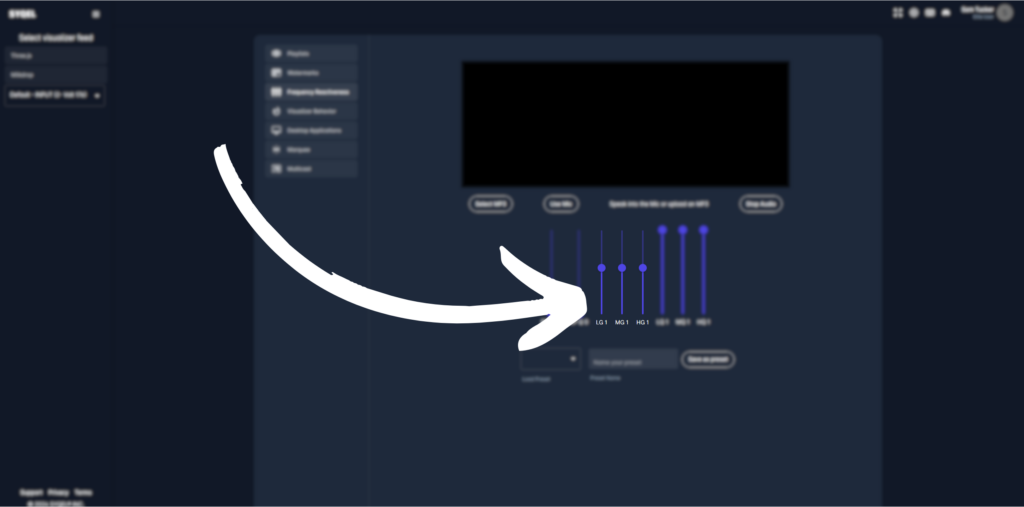
The last three sliders affects the resonance of the previous three sliders, in other words how much the previous three sliders are affecting the audio. The first one affects the low frequencies, the second the mid frequencies, and the third one the high frequencies.
This will determine how your visualizer reacts to the audio, not the audio being output from your speakers etc. If you only want the kick and bass to affect your visuals, you can set that here. You can save your settings as an audio preset, which we can then choose when we set up our visualizer engine.