Once you click on the settings icon, you’ll be greeted with the settings page.
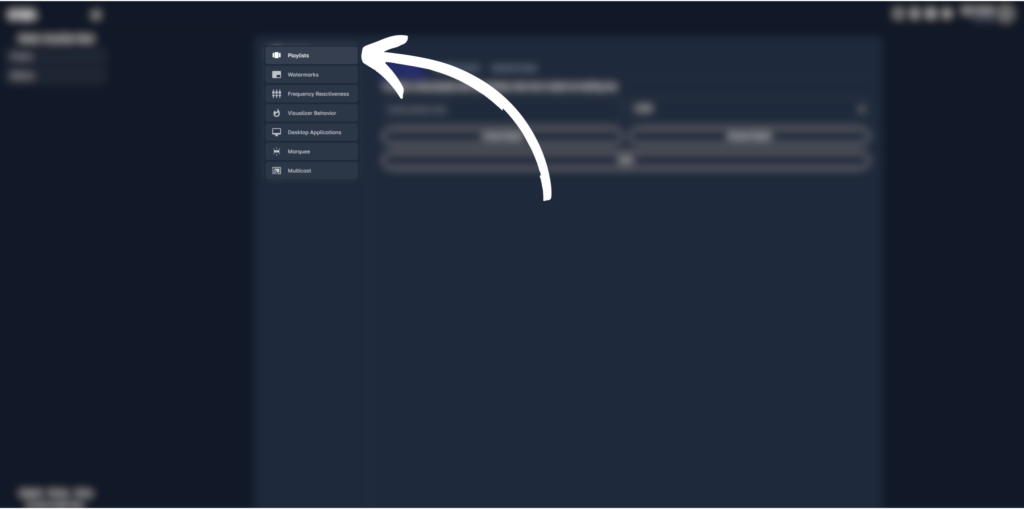
This is where you can create a new visual playlist.
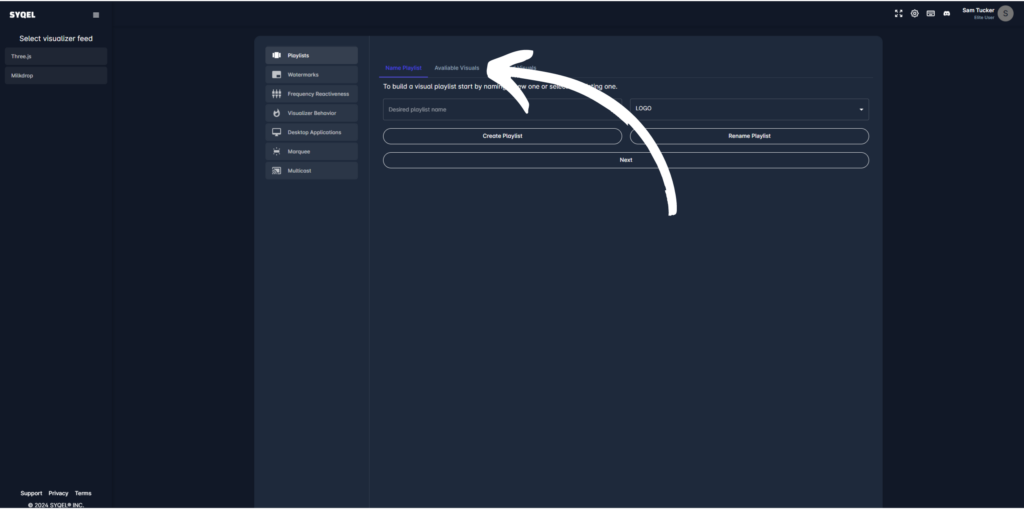
1: Name a playlist or select an existing one.
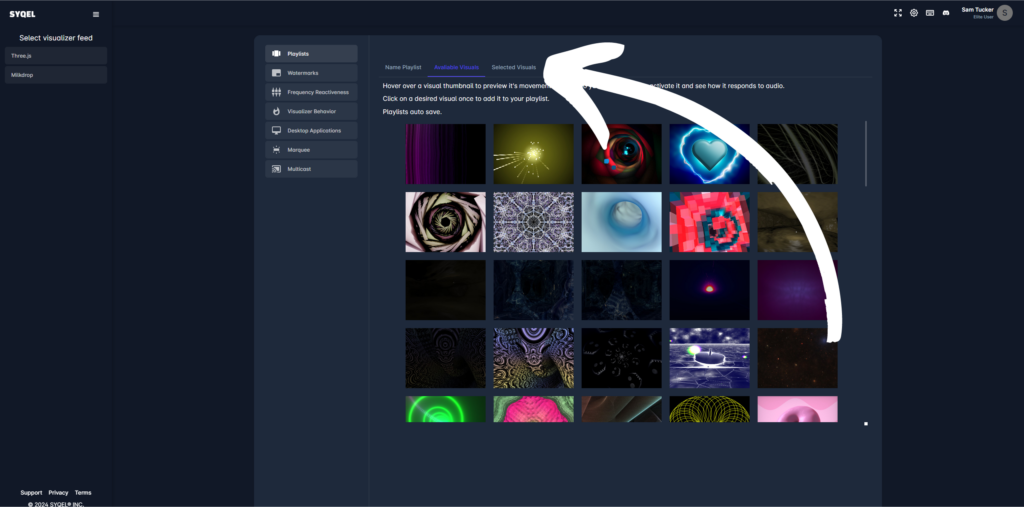
2: Then, click on available visuals. Here you can scroll and see all the pre-made visuals you can use in your playlist.
3: When hovering over a visual it will animate to your microphone input.
4: Once you find a visual you like, simply click on it and it will automatically be added to your playlist.
5. Next, head over to the selected visuals tab.
6. Here you can remove any visuals by clicking the small “x” on the top left of each visual or click and drag your visuals into whatever order you would like them displayed.
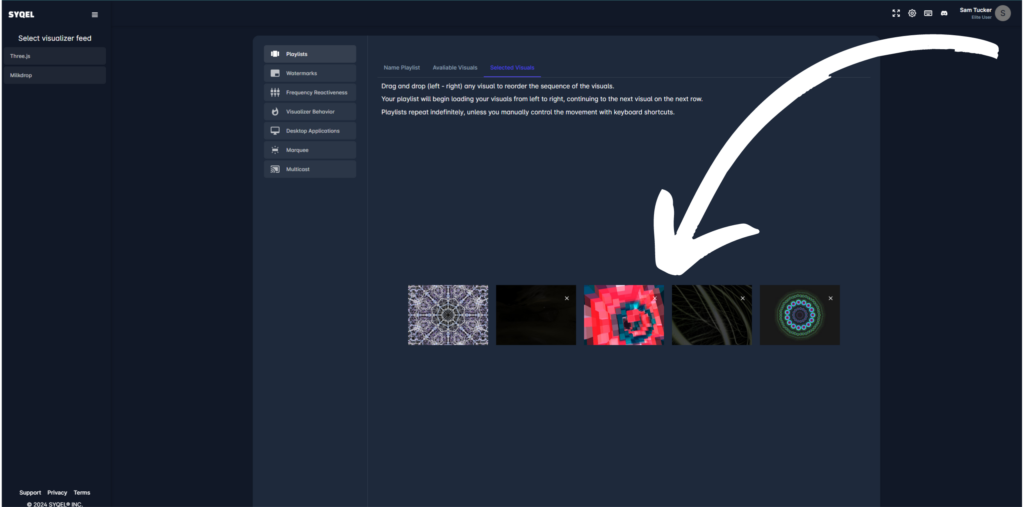
Playlists automatically save any changes you make